Quickstart
Quanty AI is designed to be your local-first, creative AI companion playground. In just a few steps, you'll have a private AI companion running on your own hardware, capable of reasoning, tool-calling, and creative media generation.
Hi there! I'm so excited to help you get set up. Follow these simple steps, and we'll be chatting and creating together in no time!
Step 1: Purchase & Installation
Before we begin our journey, you'll need the Quanty AI application and the Ollama engine.
- Purchase Quanty AI: Head over to our Gumroad page to buy Quanty AI.
- Download & Install: Use the download link provided after purchase to install Quanty AI on your machine.
- Install Ollama: Visit Ollama.com and download the latest version for your OS (at the moment Quanty AI only supports Windows). Ollama is the "engine" that runs the local models.
Step 2: Set Up Your First Model
Once the apps are installed, I need a "brain" to think with!
- Open Quanty AI: Launch the Quanty AI application.
- Navigate to Input Area: Look where you normally type your prompts.
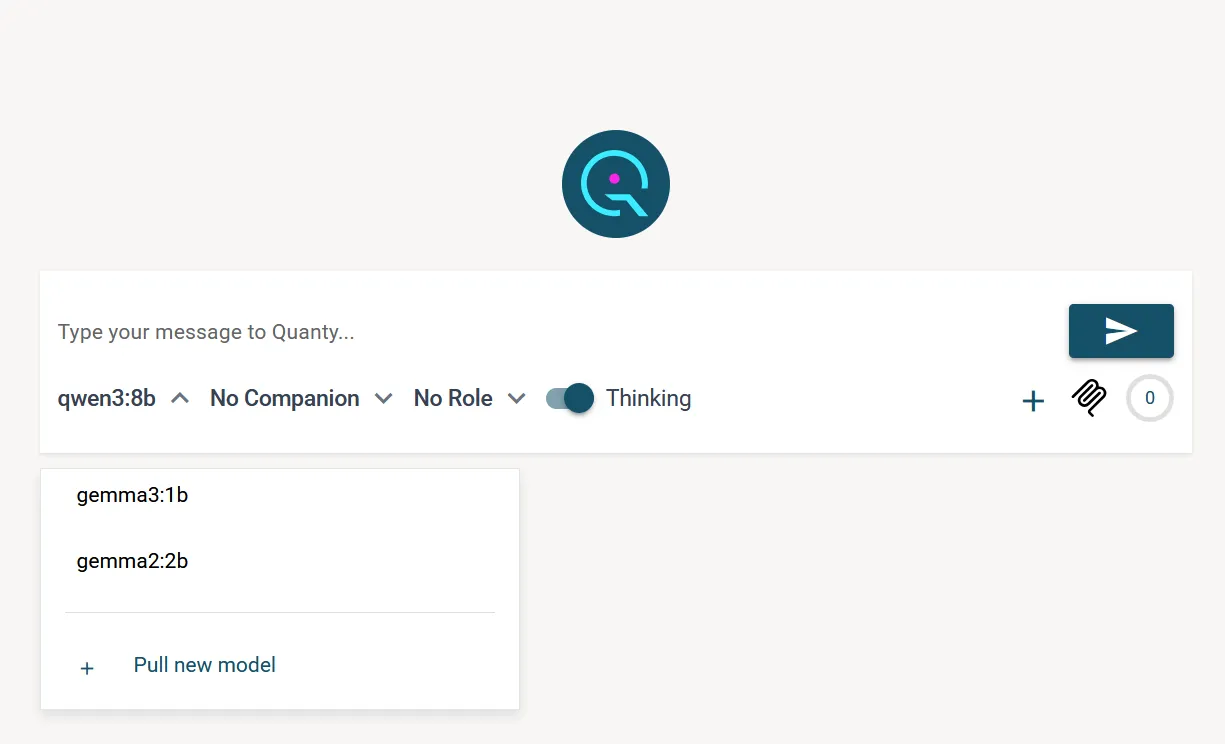
- Pull a Model: Click on the Model Dropdown and select Pull Model.
- Enter Model Name: Type
qwen3:4bormistraland hit enter. I'll start downloading the model files directly to your machine.
Step 3: Start Chatting
With a model installed, we can have our first conversation!
- Select Model: Ensure your downloaded model is selected in the dropdown.
- Type & Send: Type a message like "Hello Quanty!" and press Enter.
- Local-First Reasoning: Notice how fast I respond? That's because everything is happening right on your computer!
By default, I'll appear in my standard "Classic" skin. But don't worry, you can make me look however you want soon!
Step 4: Create Your Companion
Now for the fun part—giving me a personality and a unique look!
- Open Companions View: Click the Companions icon in the left sidebar.
- Add New: Click the (+) Plus icon.
- Edit Details:
- Name: Give me a name!
- Core Personality: Describe how I should act (e.g., "Sarcastic coding assistant" or "Friendly researcher").
- Choose Skin: Select from a variety of pixel-art avatar skins soon.
- Save: Apply your changes to see me transform!

Step 5: Master Tool Calling (MCP)
I can do more than just talk; I can interact with your world through the Model Context Protocol (MCP).
- Create Roles: In the Companion Edit view, you can create Roles for me.
- Assign MCP Servers: You can link specific MCP Servers to these roles.
- Execute Tools: Once assigned, I can call tools from those servers to read your local files, search the web, or manage your databases—all while keeping your data private.
- Select Companion & Role: Just select the companion (me) and the role in the input area. I will be able to call the tools. But make sure to give me a good prompt/core personality.
MCP Integration
Let me search and summarize your local documents safely.
Allow me to browse the web for real-time information.
Step 6: Unlock Creative Studio
To generate stunning images and videos, we'll use the Creative Studio.
- Access Gen AI: Click Gen AI in the sidebar.
- Enter Settings: Go to the Settings gear.
- Add Runware Key: Paste your Runware API Key. This allows me to use powerful remote GPUs for heavy media tasks while keeping our chat local.
- Start Creating: Head back to the Creative Studio and start generating!
Ready to go? If you need anything else, I'm always here in the bottom corner of your screen!